Facebook Linking
This may seem tedious and boring for the readers. But if this works, there will be additional steps that I found to be a good part of my workflow.
This may seem tedious and boring for the readers. But if this works, there will be additional steps that I found to be a good part of my workflow.
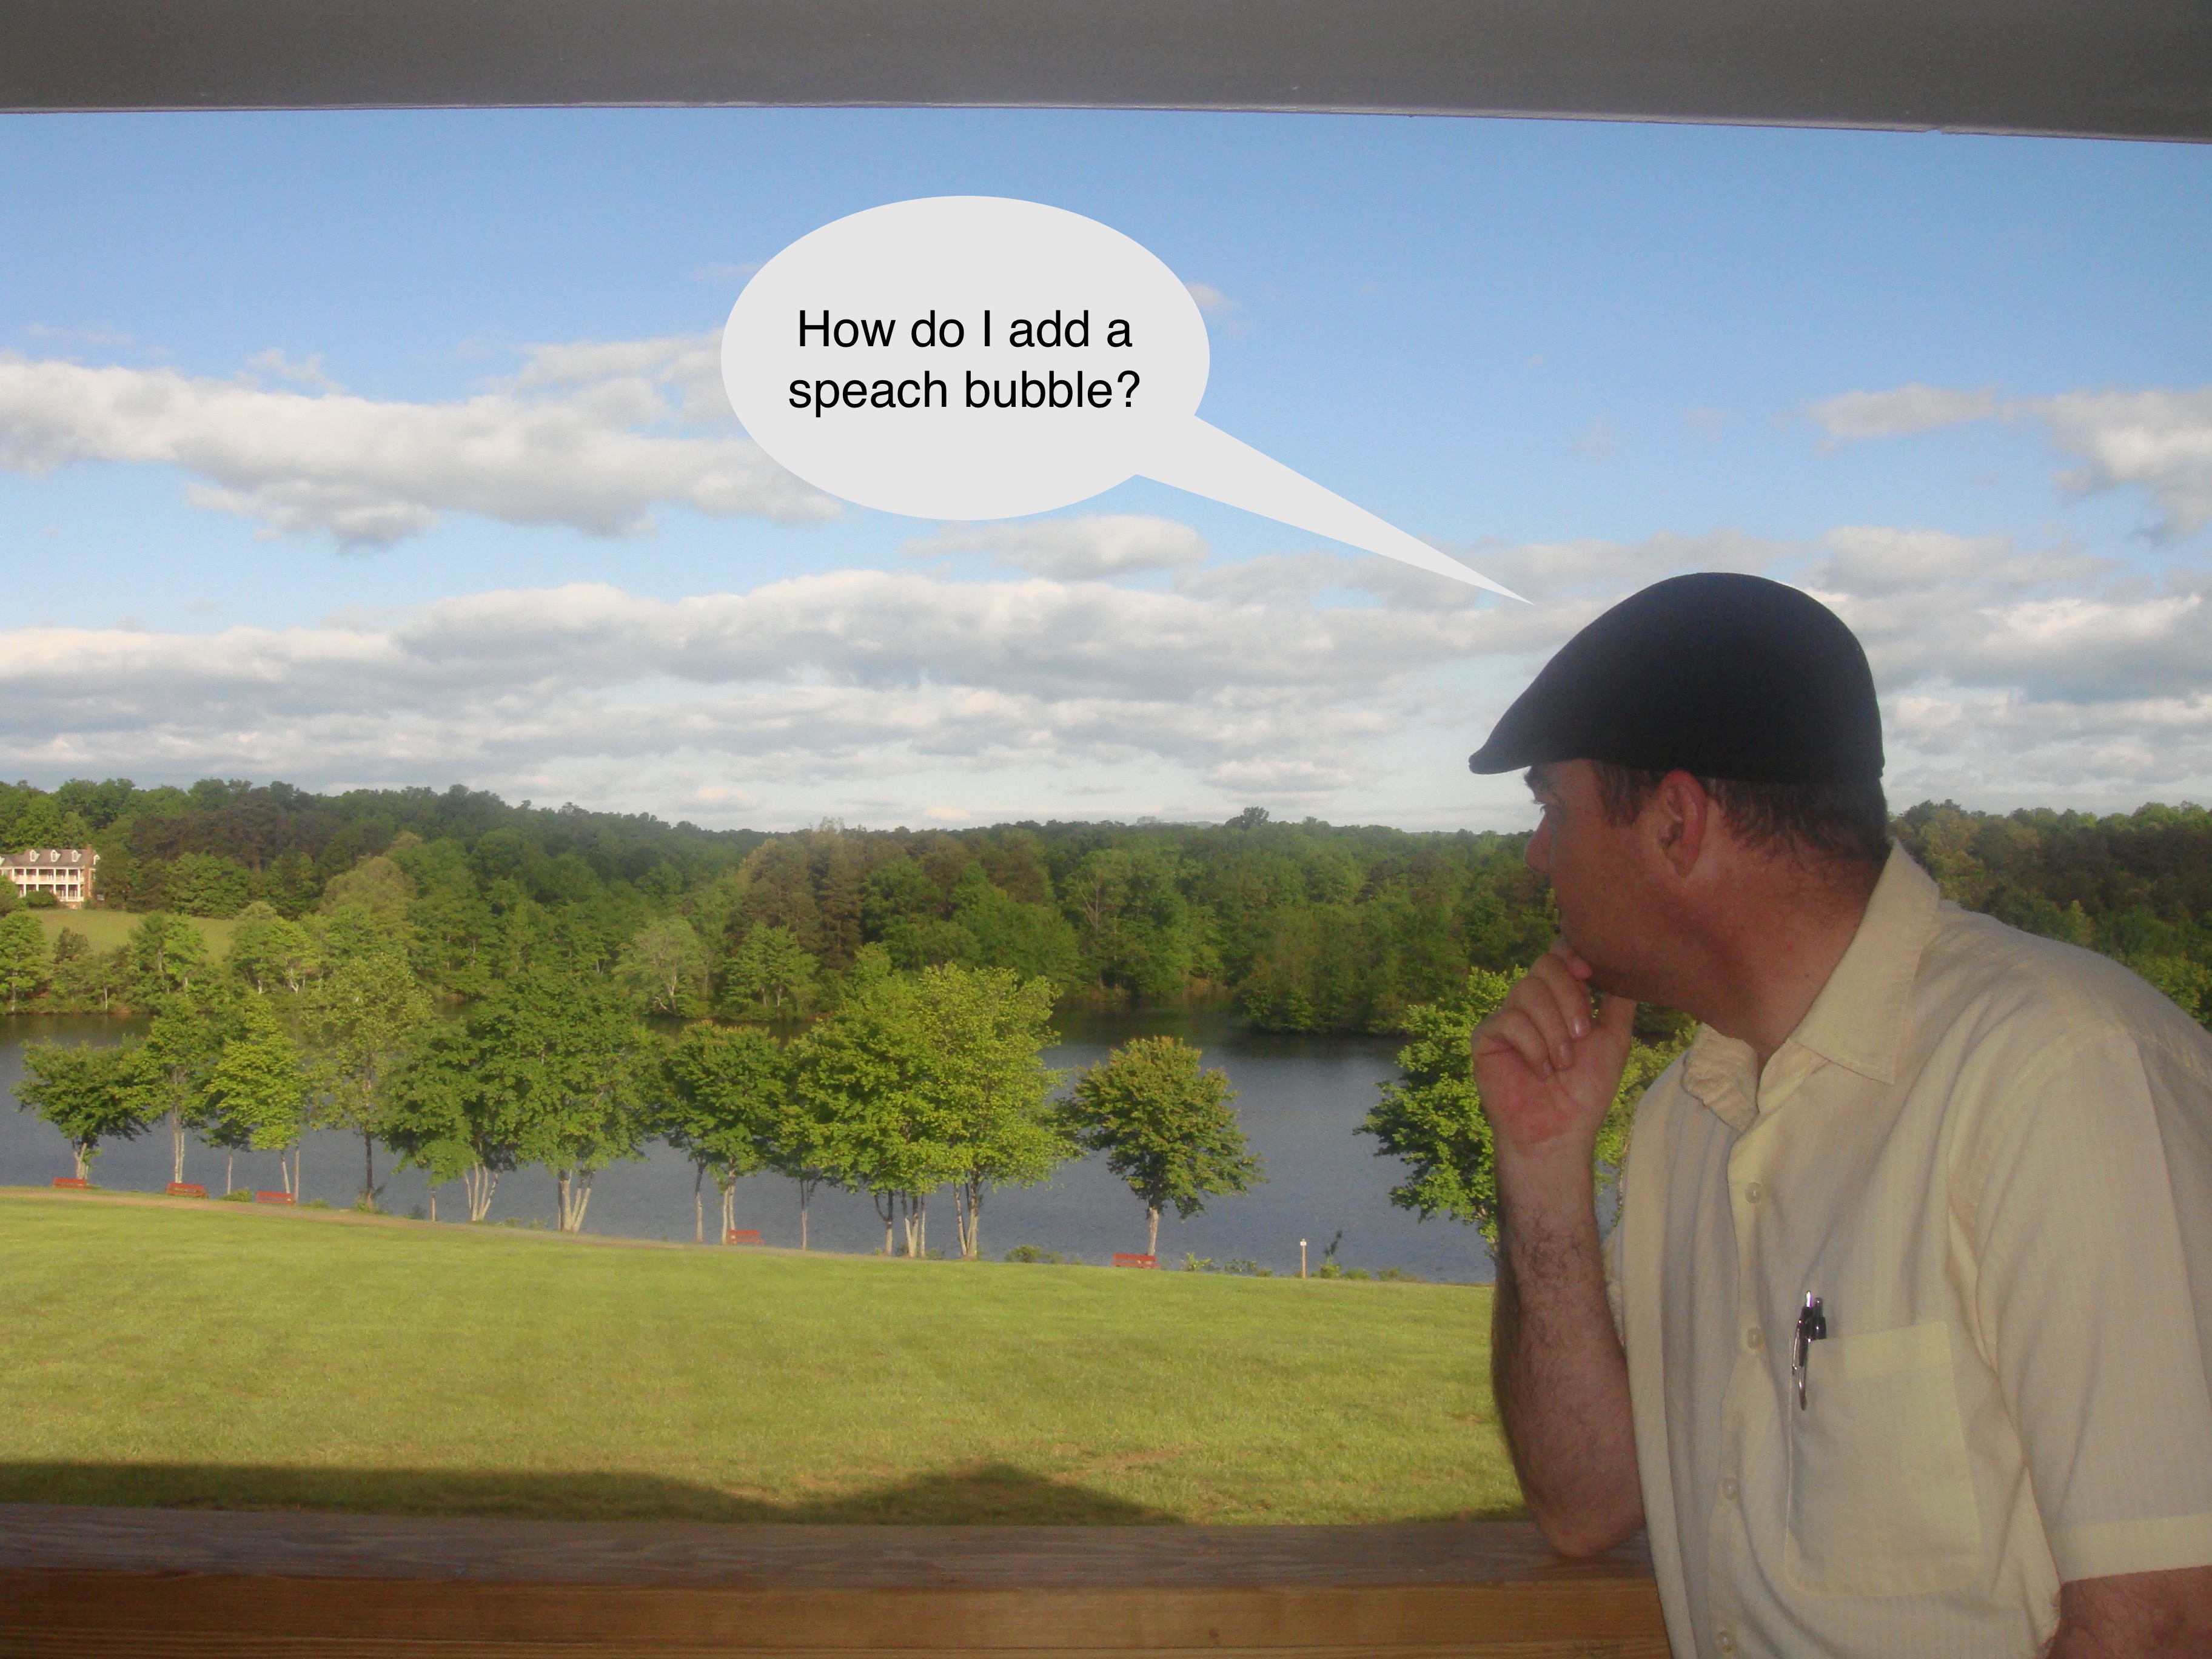
I am constantly learning new things. Which is a good way to keep your mind active. As I try to expand the audience of Tronster.net, I started researching different methods to accomplish some of the tasks I can see myself having to complete.
A quick search of the internet, and I discovered you can add a speech bubble to Photos on you MAC with "Preview". Who knew. The directions I found were really dated. However, they were basically the same, and I was able to try it out. When prepping this post, I discovered this can be done inside "Photos". Below is a quick guide on how you can accomplish the same thing.
Open your "Photos" app. Mine is in the sidebar. Choose you photo and click on edit. I like to make a duplicate of the photo I will be working on, here's how:
To duplicate a photo in photo

We will be getting to the "Mark-up" menu. Select the three dots and the Mark up


On the top left, you can see your choices for dropping shapes into the photo. The speech bubble is on of your choices. Select it and it will appear on your image.
Thats it!! So Simple. Now you can move the bubble around, you can move the tag end around. Its great. There are options to change the text color, the fill color. The outline. All from Photo.
I was glad to discover this, and should have discovered it long ago. Just never needed it. Now that I am going big time, figured I would share what i learned.
I appreciate your checking out my blog. If you want to follow me through going big time, consider subscribing. If subscribing isn't currently set up, when I figure it out, I will share.


